
Managing Certificates
Managing Certificates
Create a Certificate
Go to Certificates > Overview and select Create > Create certificate.
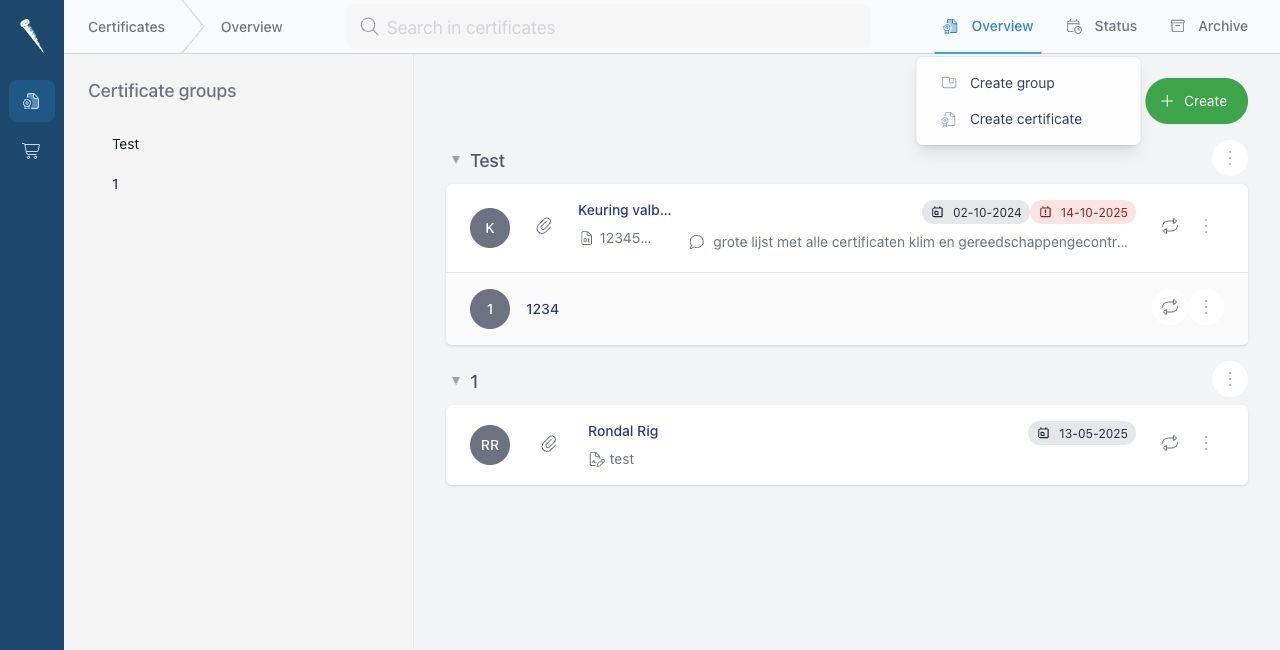
Complete the certificate form.
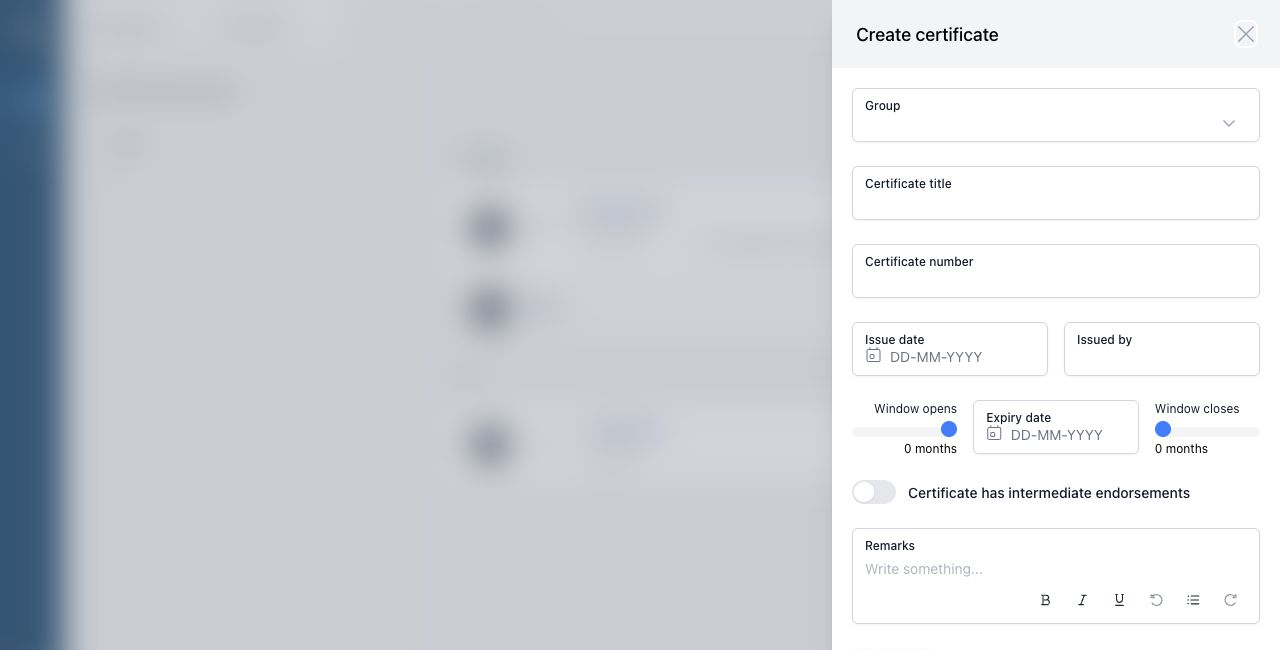
Certificate Fields
| Field | Description |
|---|---|
| Group | The certificate group where the certificate belongs. |
| Certificate title | The name of the certificate. |
| Certificate number | The official certificate number, if available. |
| Issue date | The date the certificate was issued. |
| Issued by | The authority, surveyor or organisation that issued the certificate. |
| Expiry date | The date the certificate expires. |
| Window opens | How many months before the due date the certificate should start appearing as due. |
| Window closes | How many months after the due date the certificate remains in the due window. |
| Certificate has intermediate endorsements | Enable this when the certificate needs intermediate endorsements before renewal. |
| Next endorsement | The next endorsement date. Only shown when endorsements are enabled. |
| Remarks | Any extra notes for users. |
| Attachment | Upload one or more PDF or image files. |
View Certificate Details
Click a certificate in the Overview, Status or Archive list to open the detail panel.
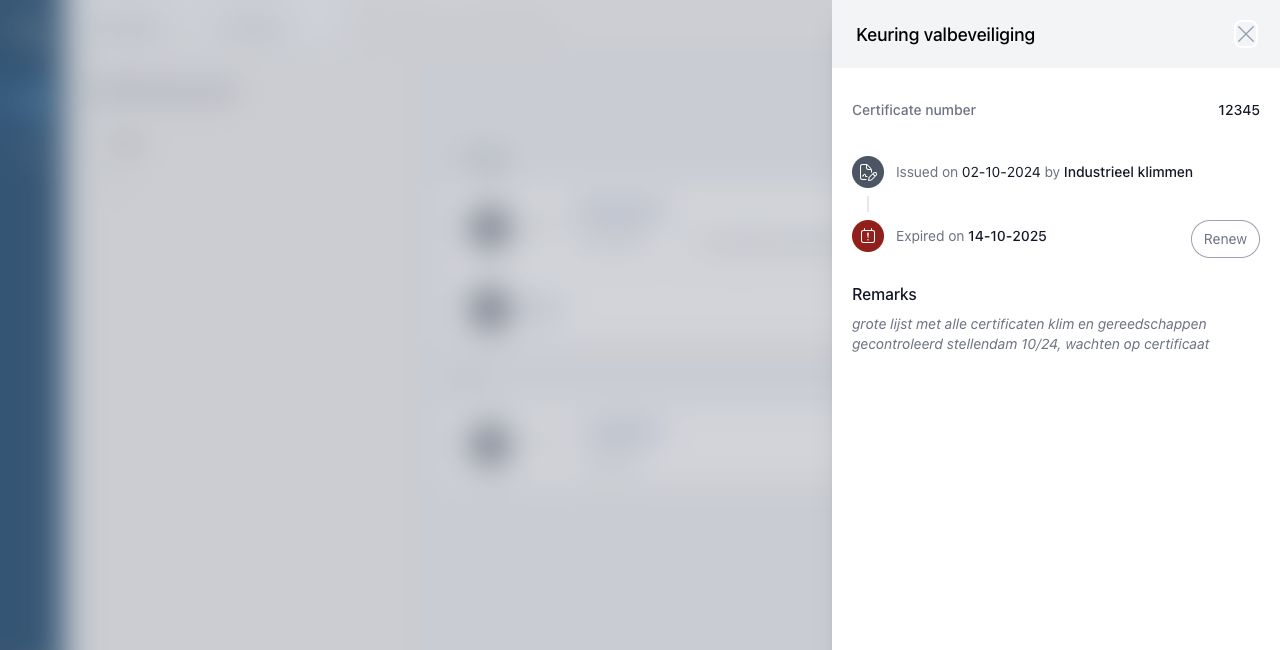
The detail panel can show:
- Group path
- Certificate number
- Issue date and issuer
- Endorsement history
- Next endorsement date
- Expiry date
- Archive date
- Remarks
- File preview
- Attachments
Edit a Certificate
Open a certificate and select Edit certificate, or use the certificate action menu and select Edit certificate.
Update the fields and select Save changes.
Attachments
Attachments can be added when creating, editing, renewing or endorsing a certificate.
If the first attachment is an image or PDF, it can be previewed from the certificate detail panel.